

How To Clean Kitchen Exhaust Fan Properly?
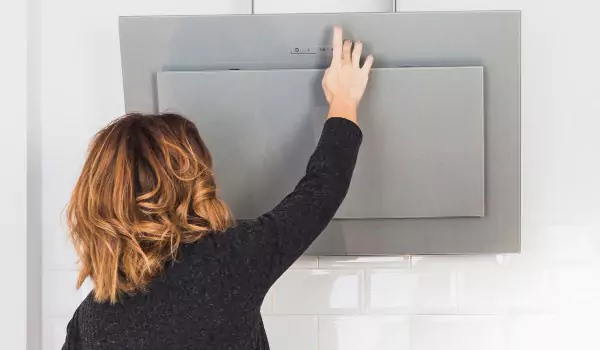
The exhaust fan in your kitchen is an unsung hero that works tirelessly to make sure that there is fresh air. It also ensures that your kitchen is free of unpleasant odours. However, your exhaust fan also requires frequent attention so that it can maintain its longevity and effectiveness. Typically, this means cleaning it as regularly as needed. In the process of cleaning the air in your kitchen, the fan will likely collect grease and dirt, which might affect its performance negatively.
If you notice that your exhaust fan is covered in dirt and grime, paying attention to it as soon as possible becomes important. Professionals who provide services like house cleaning and budget end of lease cleaning Newcastle recommend cleaning the fan regularly so that it runs well and improves indoor air. However, it is vital to learn the right method of doing so.
Here is how to clean the kitchen exhaust fan properly. Follow these basic steps to maintain a dust-free exhaust fan.
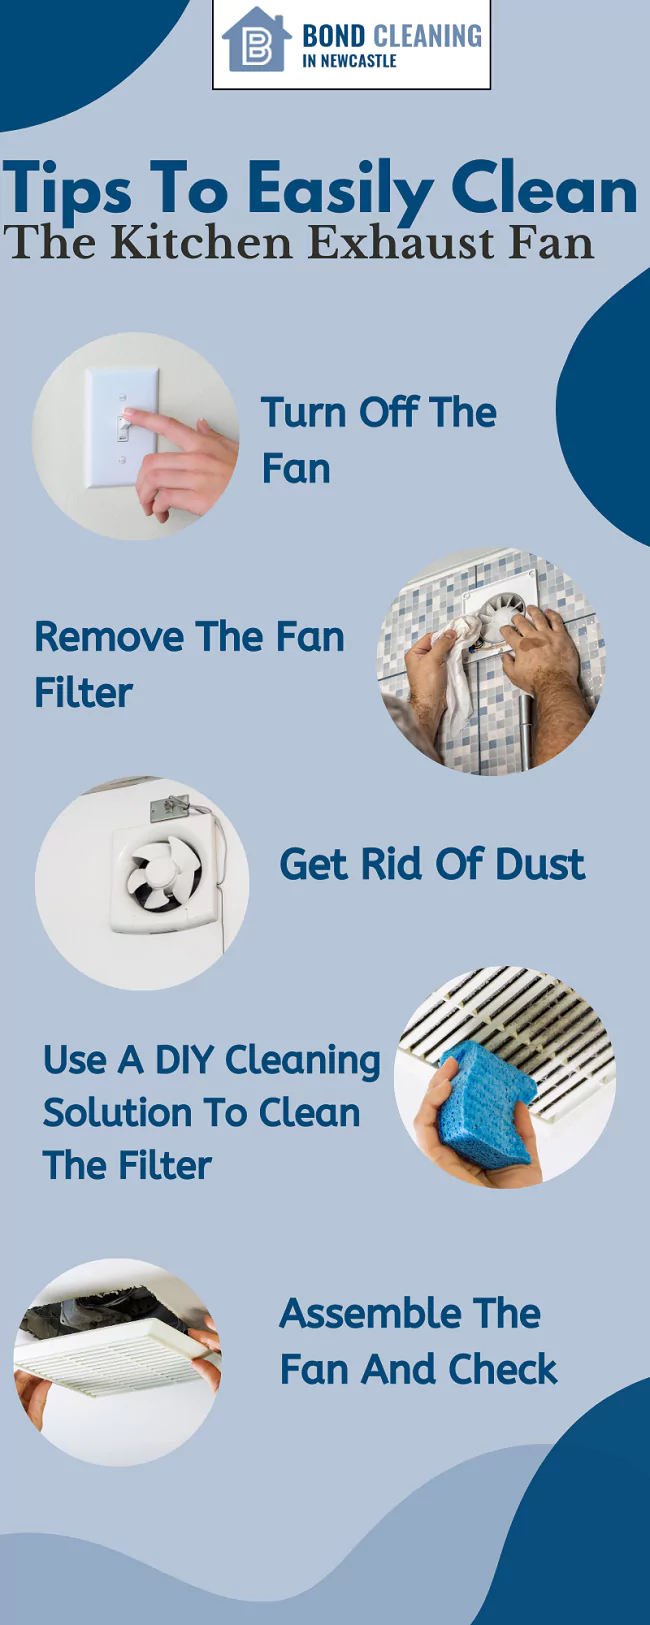
1. Turn off the Fan
Before proceeding with cleaning, switch off the exhaust fan and unplug it to avoid any injury. Regardless of how serious the situation is, it is not a wise decision to take a chance and harm your hand in the process of cleaning the fan. It is more than likely that the fan will be plugged into an outlet, so once you have turned it off, unplug it as well. Furthermore, turning off the electricity in the entire kitchen is also a great option. In case the fan was running recently, allow it to cool down completely before proceeding with the next step.
2. Remove the Fan Filter
Depending on the type of exhaust fan in your kitchen, you will need to remove its outermost layer. For instance, when it comes to a chimney exhaust fan, you will be required to take out the fan filter that is sitting on the exhaust assembly’s top.
When it comes to the window exhaust fan, this would be the fan cover that covers the fan impeller. In a few fans, there are screws that must be removed, use a screwdriver to remove the filter swiftly. According to the professional end of lease cleaners Newcastle, removing the filter will make the cleaning procedure easier.
3. Get Rid of Dust
You will definitely find dust and debris on the fan assembly. To get rid of the accumulated dust, it is best to use a microfibre cloth in a sweeping motion. Do so in and around the area where the fan is fitted. This step will be relevant if you have not dusted in a while or if the fan or the residence has not been used for a long time. You can also hire a cleaning service to clean the exhaust fan.
4. Use a DIY Cleaning Solution to Clean the Filter
End of lease cleaning Newcastle experts recommend cleaning the exhaust fan filter by soaking it in a large sink or bucket. The sink or bucket should contain a mixture of warm water and liquid dish soap. In case the filter has too much debris, it is a good idea to use running water to rinse it.
It will help eliminate the bigger bits of debris before soaking. After that, soak the fan filter in the DIY cleaning solution for about 10 to 15 minutes. Follow up by using an old toothbrush to clean it. Next, wash off all the dirt by rinsing the filter under running water. Finally, allow it to air dry.
5. Clean the Fan Blades
After the filter, it is now time to clean the blades. Firstly, figure out if you can remove the fan impeller. The majority of the exhaust fans have a locking screw mechanism which you will need to unscrew. Regardless of whether it is possible to remove the fan or not, you can clean the blades by using a wet cloth dipped in the cleaning solution. Refrain from applying the cleaning solution directly on the blades.
This will make the fan assembly pick up the moisture, and it might malfunction. Once you have cleaned the fan, it is time to check if the fan blades are moving freely or not. Ensure there is no obstruction and wobbling in its motion. There is the option of adding lubricating oil or some grease near the fan’s shaft according to the manufacturer’s guidelines. It will make the fan blades turn freely.
6. Assemble the Fan and Check
Finally, once you have completed the cleaning work, it is time to assemble the exhaust fan back. Begin with the fan impeller and blades if you removed them earlier. After that, place the filter back as well. Ensure all the parts have dried properly. This will help you avoid any residual moisture on the fan parts.
After assembling, plug in and check if your kitchen exhaust fan is working properly. In most cases, it will operate better than it was operating before cleaning. Cleaning the fans regularly is essential, and that is why cheap end of lease cleaners Newcastle recommend it. Ideally, it should be a part of your house cleaning checklist.
Tips to Easily Clean the Kitchen Exhaust Fan:
Wrapping Up
It is quite straightforward to clean the kitchen exhaust fan. Follow the steps mentioned in this article regularly to properly clean your kitchen exhaust fan. This way, you will prevent it from malfunctioning or breaking down.