

How to Clean a Ceiling Fan without Making a Mess
Are you tired of having the dust rain down on the rest of your belongings every time you decide to give your ceiling fans a good clean? Fret not. There are better ways to do this. Ways that do not involve your floors and furniture getting dirty from the dust. You only need to gather the correct tools and learn the right method of cleaning this often overlooked area in your home. Within minutes you’ll see that this appliance is now clean; no ladders tipping, no more sneezing fits and no more of post cleaning vacuum marathons.
This guide will give you a quick step by step method for making your ceiling fans spotless using items you already have at your home. Be it preparing the place for the oncoming cleaning session or choosing the correct tools, you’ll learn how to keep the mess to a minimum while getting the job done right. In situations or occasions when you need a thorough and comprehensive level of cleaning, for instance in budget end of lease cleaning Newcastle, these fan cleaning tips will ensure you do not miss a single detail. Not to mention a clean fan will make your living space healthier.
1. Prepare Your Cleaning Area First
Before you grab a cloth to go and clean your ceiling fans, it’s important that you prepare the area for the coming onslaught of cleaning. You need to protect the area underneath the fan. Lay down an old sheet, drop cloth or even a large rubbish bag that has been cut open to catch any falling dust and grime. This will make the post cleanup much easier. If your fan is in a furnished area, consider moving the more lightweight stuff away from underneath the fan or cover everything with towels to prevent them from catching the dust.
Make sure the fan is turned off and the blades have stopped rotating completely before you begin. Using a step ladder or a stable stool, safely access the fan. Always place the ladder on an even surface and have someone nearby to hold the ladder in place before you go ahead and climb onto it. Safety always comes first, especially when you’re going to be working overhead.
2. Use the Pillowcase Cleaning Hack
Did you know that the best way to clean your ceiling fan without creating a dust storm in its wake is by using the pillowcase method? All you need to do here is lightly spray the fan blades with a cleaning spray, either homemade or a non toxic commercial spray. Put the pillowcase over one of the blades and gently pull it back, wiping both the top and bottom of the blade at the same time (in one motion). This lets the dust to get trapped inside the pillowcase instead of falling on your floors or furniture.
Repeat this for each fan blade, shaking out the pillowcase outside your home once the cleaning is done. This trick is quick, effective and mess free. It’s ideal for regular fan maintenance. This kind of attention is important during comprehensive end of lease cleaning Newcastle situations, where missed spots can mean a penalty being assigned to your deposit.
3. Wipe Down the Fan Motor and Housing
After cleaning all of the blades, remember to clean the fan motor and any related light fixtures. These parts of the fan frequently acquire layers of dust and debris, which can negatively impact its performance if left unattended. Wipe the motor casing, chain pulls and any other surface on the fan using a soft microfiber cloth or brush.
When cleaning the fans, avoid using harsh chemicals because they may damage the metallic or painted finishes. A solution of water and gentle detergent will be enough for cleaning. Simply ensure that no water drips into the motor housing as this can damage the wiring inside.
4. Remove Any Stubborn Grime and Sticky Buildup

In kitchen or other high traffic rooms, ceiling fans tend to collect a lot of grease along with the dust of course. This combination can quickly lead to the formation of a sticky residue that the pillowcase trick is not able to sufficiently take care of. In these cases, mix a solution of warm water, a few drops of dish soap and white vinegar.
Dip a microfiber cloth into this mixture that you made and wring it out well. Now wipe each blade gently but thoroughly. Rinse the cloth frequently to avoid smearing the grime back on to it. For those really tough spots, you might have to go through the cleaning process a couple more times.
5. Don’t Forget To Clean The Floor Later
No matter how many good precautions you take to limit the mess, dust and grime still have a way of finding their way onto the areas below. So, when you’ve scrubbed your ceiling fan, gently remove the sheet you placed underneath. To restore tidiness, quickly wipe or vacuum the area. If necessary, wipe the furniture too.
This step ensures that your entire space feels as fresh as your fan looks. And if you’re cleaning up before hosting a party, gathering or property inspection, these minute details will make a noticeable difference to your cleaning results.
6. How Often Should You Clean Your Fan?
You should aim to clean your fan at least once every 1 to 2 months. This will help keep your ceiling fans in good conditions and the air you breathe in a healthy state. For other areas like the kitchen, near fireplaces or during the warmer months, the frequency of cleaning will have to be increased. Basically, the more the fans are used, the more frequently you need to clean them.
And if you’re preparing your property for something like a thorough end of lease cleaning in Newcastle, do not make the mistake of skipping the fan cleaning. Property owners will often check the ceiling fan during inspections, and if they are found to be unclean, it could cost you a part of your bond.
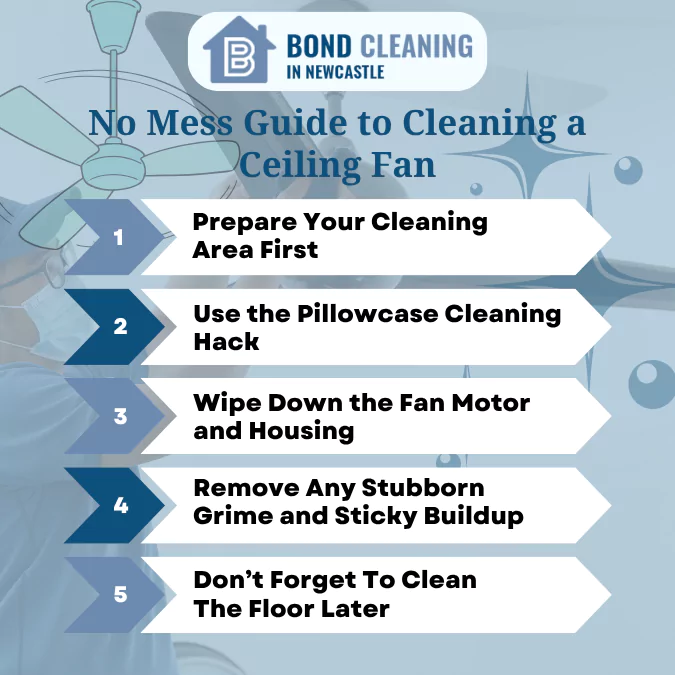
Infographic: No Mess Guide to Cleaning a Ceiling Fan
Wrapping Up
If you know what you’re doing and how you’re going to be doing it, cleaning the ceiling fans will become an easy breezy task. Just use the techniques listed above and you’re good to go. Taking time to clean and not rushing through the process is a worthy investment of time. Good luck and Happy Cleaning!