

Step By Step Guide To Cleaning Your Kitchen Exhaust Fan
A kitchen exhaust fan plays a crucial role in keeping your cooking space fresh, odour free and well ventilated. While countertops, sinks and stovetops often get regular attention; exhaust fans are commonly overlooked. Over time, grease, dust and food particles accumulate inside the fan, reducing its efficiency and affecting indoor air quality.
If you are living in a rental property, this task becomes even more important when preparing to move out. During inspections, property managers carefully assess fixtures such as exhaust fans. A greasy or dusty fan can raise red flags and contribute to bond deductions. This article will provide you with a step by step guide to clean your kitchen exhaust fan. Knowing how to clean it properly is essential, especially when planning end of lease cleaning Newcastle.
Hide
Show
- Why Cleaning Your Kitchen Exhaust Fan Matters
- Tools and Supplies You Need to Clean the Exhaust Fan
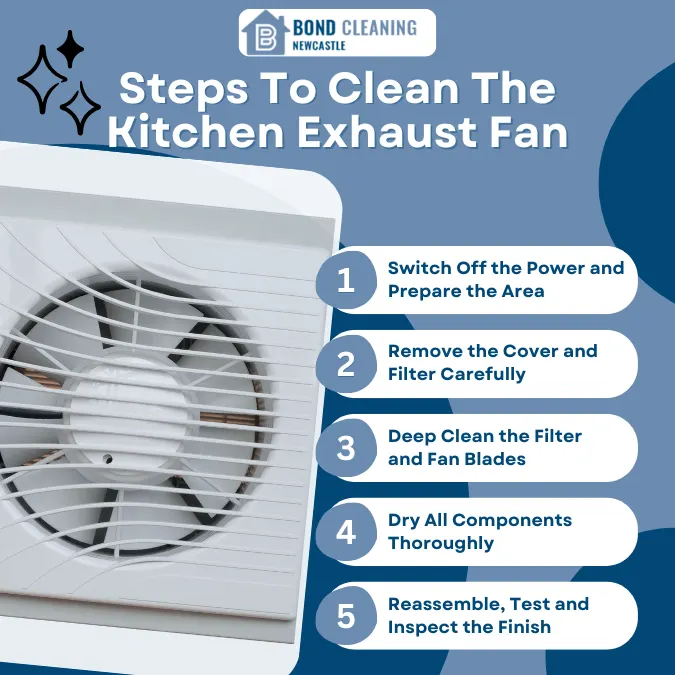
- Step 1: Switch Off the Power and Prepare the Area
- Step 2: Remove the Cover and Filter Carefully
- Step 3: Deep Clean the Filter and Fan Blades
- Step 4: Dry All Components Thoroughly
- Step 5: Reassemble, Test and Inspect the Finish
- Infographic For Steps To Clean The Kitchen Exhaust Fan
- Wrapping Up
1. Why Cleaning Your Kitchen Exhaust Fan Matters
A kitchen exhaust fan works hard to remove smoke, steam, grease and airborne particles while you cook. When the filters and blades become clogged, the fan has to work harder, reducing its efficiency and increasing energy consumption. This can also cause unpleasant smells to circulate instead of being removed from the kitchen.
From a rental perspective, a dirty exhaust fan is often flagged during final inspections. Grease stains, dust buildup or visible residue signal poor maintenance. Regular cleaning helps you maintain hygiene, improve ventilation and avoid unnecessary issues during the budget end of lease cleaning Newcastle checks.
2. Tools and Supplies You Need to Clean the Exhaust Fan

Before you begin, make sure you have the following tools and supplies ready:
- Dishwashing liquid
- Baking soda
- Warm water
- Microfibre cloths
- Old toothbrush
- Screwdriver, for removing the cover or filters
3. Step 1: Switch Off the Power and Prepare the Area
Safety should be your top priority before you start cleaning. Turn off the power supply, to the exhaust fan from the main switch or circuit breaker. This prevents any risk of electric shock while handling the fan and its components. Never attempt to clean an exhaust fan while it’s connected to power.
Once the power is off, prepare the area below the fan. Lay down an old towel or newspaper to catch grease or dust that may fall during cleaning. Having a clear and protected workspace makes the process cleaner and more efficient, especially if the fan hasn’t been cleaned in a long time.
4. Step 2: Remove the Cover and Filter Carefully
Most kitchen exhaust fans have a removable cover or grille secured with clips or screws. Gently detach this cover; taking care not to bend or damage it. Place screws or small parts in a bowl to avoid misplacing them during the cleaning process.
After removing the cover, take out the filter if your fan has one. Filters tend to collect the most grease and grime, making them a key focus during cleaning. Removing these parts carefully makes sure that you can clean them thoroughly without damaging the fan’s structure.
5. Step 3: Deep Clean the Filter and Fan Blades
Soak the filter in warm water mixed with dishwashing liquid and baking soda for about 15 to 20 minutes. This helps break down stubborn grease buildup. After soaking, use a soft brush or toothbrush to scrub away residue then rinse thoroughly with clean water.
For the fan blades and inner surfaces, use a damp microfibre cloth to wipe away dust and grease. Avoid letting water drip into the motor area, as this can cause damage. Gentle but consistent cleaning makes sure that the fan functions efficiently without compromising its electrical components.
6. Step 4: Dry All Components Thoroughly
Once cleaning is complete, it’s essential to let all parts dry completely. Moisture left on the filter or blades can lead to unpleasant smells, mould growth or electrical issues once the fan is turned back on. Air drying is the safest option, especially for metal components.
If you’re short on time, you can gently pat parts dry with a clean cloth ensuring no water remains trapped in corners or crevices. Proper drying is a step many people rush, but it plays a critical role in maintaining the longevity and performance of the exhaust fan.
7. Step 5: Reassemble, Test and Inspect the Finish
After all parts are fully dry, carefully reassemble the exhaust fan by placing the filter and cover back into position. Secure all clips or screws properly to ensure the fan is stable and safe to use. Once everything is in place, restore the power supply.
Turn the fan on to test its performance. A clean exhaust fan should operate quietly and remove steam and odours effectively. This final inspection ensures the fan meets cleanliness standards, which is especially important during end of lease cleaning Newcastle inspections.
Infographic For Steps To Clean The Kitchen Exhaust Fan
Wrapping Up
Cleaning your kitchen exhaust fan may seem like a small task, but it has a big impact on kitchen hygiene and air quality. When moving out of a rental property, attention to such details can make a real difference. Including exhaust fan cleaning as part of your end of lease cleaning checklist helps you avoid unnecessary bond deductions and leave the property in excellent condition.