
How to Deep Clean Tile Grout & Regrout Before Moving Out
Professional cleaners will agree that grout is one of the most important but often neglected parts of any tiled surface. As time goes by, it traps a lot of dirt, mould and soap residue, making your floors and walls look older than they really are. But this effect can be reversed by giving it a thorough deep cleaning and regrouting process before you move out of the property permanently. A good refresh of old grout will help you enhance their appearance, help in maintenance and add value to the property.
This blog will talk about ways in which you can deep clean tile grout and regrout it before you finally move out of the home. Whether you attempt to go DIY with it or decide to call the professionals for help, these tips shall help you nonetheless. And if you do decide hire help, ensure you’re hiring a team of professional end of lease cleaning Newcastle, as they will ensure your tiles are in top notch state for the upcoming inspection. Let’s learn more.
1. Assessing The Condition Of Your Grout
Before you start the cleaning process, it’s essential that you evaluate your grouts condition first. Check for things like discolouration, mould growth and any crumbling or cracked sections. If the grout is only slightly stained, a thorough clean might be all its needs. However, if there is flaking, chipping or missing pieces, regrouting might be necessary to do.
A good rule of thumb is to run your finger along the grout line and if it feels rough or powdery, it’s probably deteriorating. In this case, cleaning alone won’t restore it. You’ll need to remove and replace the old grout. Doing this early on will ensure that you have ample time to dedicate effort to it before your final moving days come up.
2. Gathering the Right Tools and Materials
Deep cleaning the grout or regrouting is not a complicated task, but you will need the right tools for it. You’ll need a stiff bristled brush or an old toothbrush, a spray bottle, protective gloves, a grout removal tool or rotary tools, new grout mix, a grout float, sponge and sealant.
For the cleaning process you may also need baking soda, vinegar, hydrogen peroxide or a commercial grout cleaner. Choose whatever is appropriate for your surface. Avoid using harsh acidic cleaners on natural stoned tiles as it can cause etching or discolouration. If your property is leased, check for any restrictions made by your landlord. Sometimes, hiring expert end of lease cleaning Newcastle services is the safest option.
3. How to Deep Clean Tile Grout
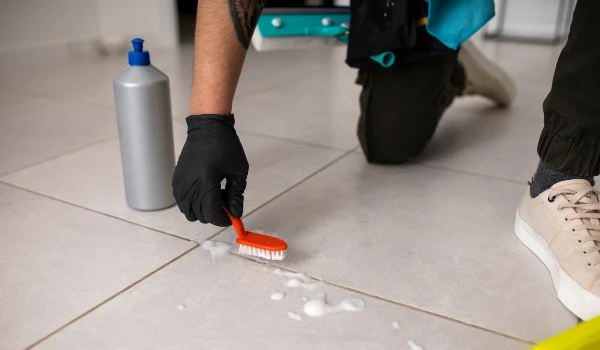
To start, sweep or vacuum the tiled surfaces to remove loose debris. Mix three parts baking soda with one part water to create a paste, then apply this to the grout. Let it sit for 10 mins to loosen the hold of the dirt /stain. Then, use a mixture of vinegar and water onto this paste, creating a fizzing reaction which lifts the embedded grime.
For stubborn stains, hydrogen peroxide is good for spot treatment. After you’ve finished cleaning use a fresh cloth or mop to wipe the area off and rinse it well with warm water. Repeat the procedure or think about using oxygen bleach, if the results aren’t as brilliant as you had hoped. Additionally, ensure you’re wearing safety gear and that the location has adequate ventilation.
4. Preparing The Surface For Regrouting
It’s time to get ready for regrouting now. This is only applicable in cases where your existing grout is irreparably damaged. Carefully scrape out the old grout to a minimum depth of 3 mm using a grout removal tool. Be careful to not scratch or chip the tiles.
Once all the loose stuff has been removed, vacuum or wipe away, any dust that remains. Before using fresh grout, make sure the joints are totally dry, because moisture might erode the bond. To get a long lasting finish, this step is essential.
5. Applying The New Grout
Mix your new grout according to the manufacturer’s instructions. It should be thick, with a consistency similar to peanut butter. To make sure the joints are fully filled, apply the slurry diagonally over the tiles, using a rubber grout float. In order to keep grout from drying too quickly, work in small areas. After 15, 20 minutes, remove any extra grout with a moist sponge making sure to rinse the sponge after each use.
After the grout has completely dried (usually 24hrs) use a dry towel to buff the tiles and get rid of any haze. After curing, apply grout sealer particularly in damp areas like kitchens and bathrooms. By taking this extra precaution, you can shield your grout from future stains and mould growth.
6. Common Grout Related Mistakes to Avoid
Errors can destroy the results, even when done with the best of intentions. Grout may get weakened by excessive water use during cleaning. Between washing and regrouting, allow time for drying; moisture that gets trapped under the new grout can cause early cracking. Ignoring grout sealing after regrouting is another common error.
Grout that isn’t sealed can readily absorb water and stains undoing all of your hard work. Lastly, be sure to swiftly remove any extra grout. Grout restoration can be handled effectively, by expert cleaners that specialise in end of lease cleaning Newcastle if you’re pressed for time or unsure about the procedure.
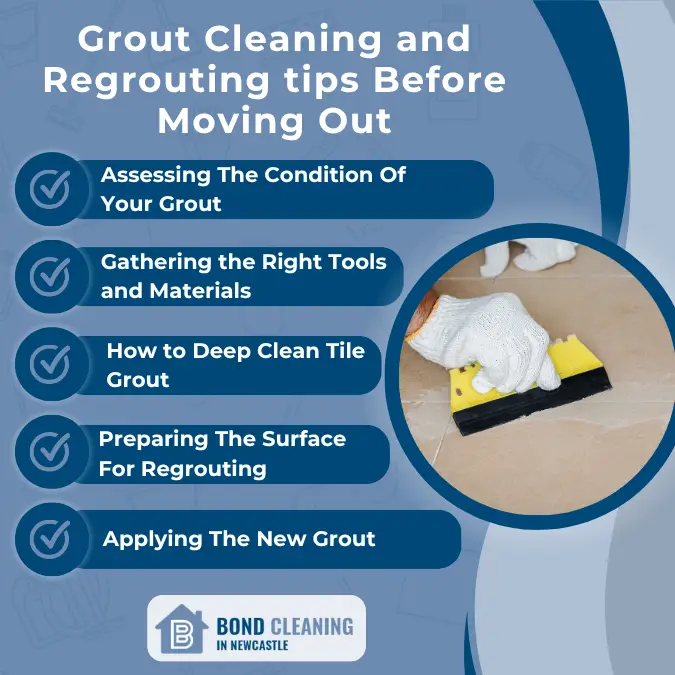
Infographic: Grout Cleaning and Regrouting tips Before Moving Out
Wrapping Up
Deep cleaning and regrouting your tiles, before moving out may take some effort, but the payoff is well worth it. Clean, fresh grout improves appearance, guards against long term damage, and makes a great impression during inspections. To restore your tiles and finish with assurance, follow these instructions.